
TL;DR
I’m building a customer support chatbot named Sarah using JDoodle.ai, integrating the Gemini API. You’ll learn how to connect your Gemini key, define your chatbot’s personality, tweak your UI, and finally publish it all within minutes.
Step 1: Let’s Build a Support Chatbot (Meet Sarah)
Today, let’s build a customer support chatbot that can answer queries and assist users seamlessly. Let’s name her Sarah.
In JDoodle.ai, you simply start with a prompt like:
“Build a customer support chatbot named Sarah and connect it with the Gemini integration to answer customer queries naturally.”
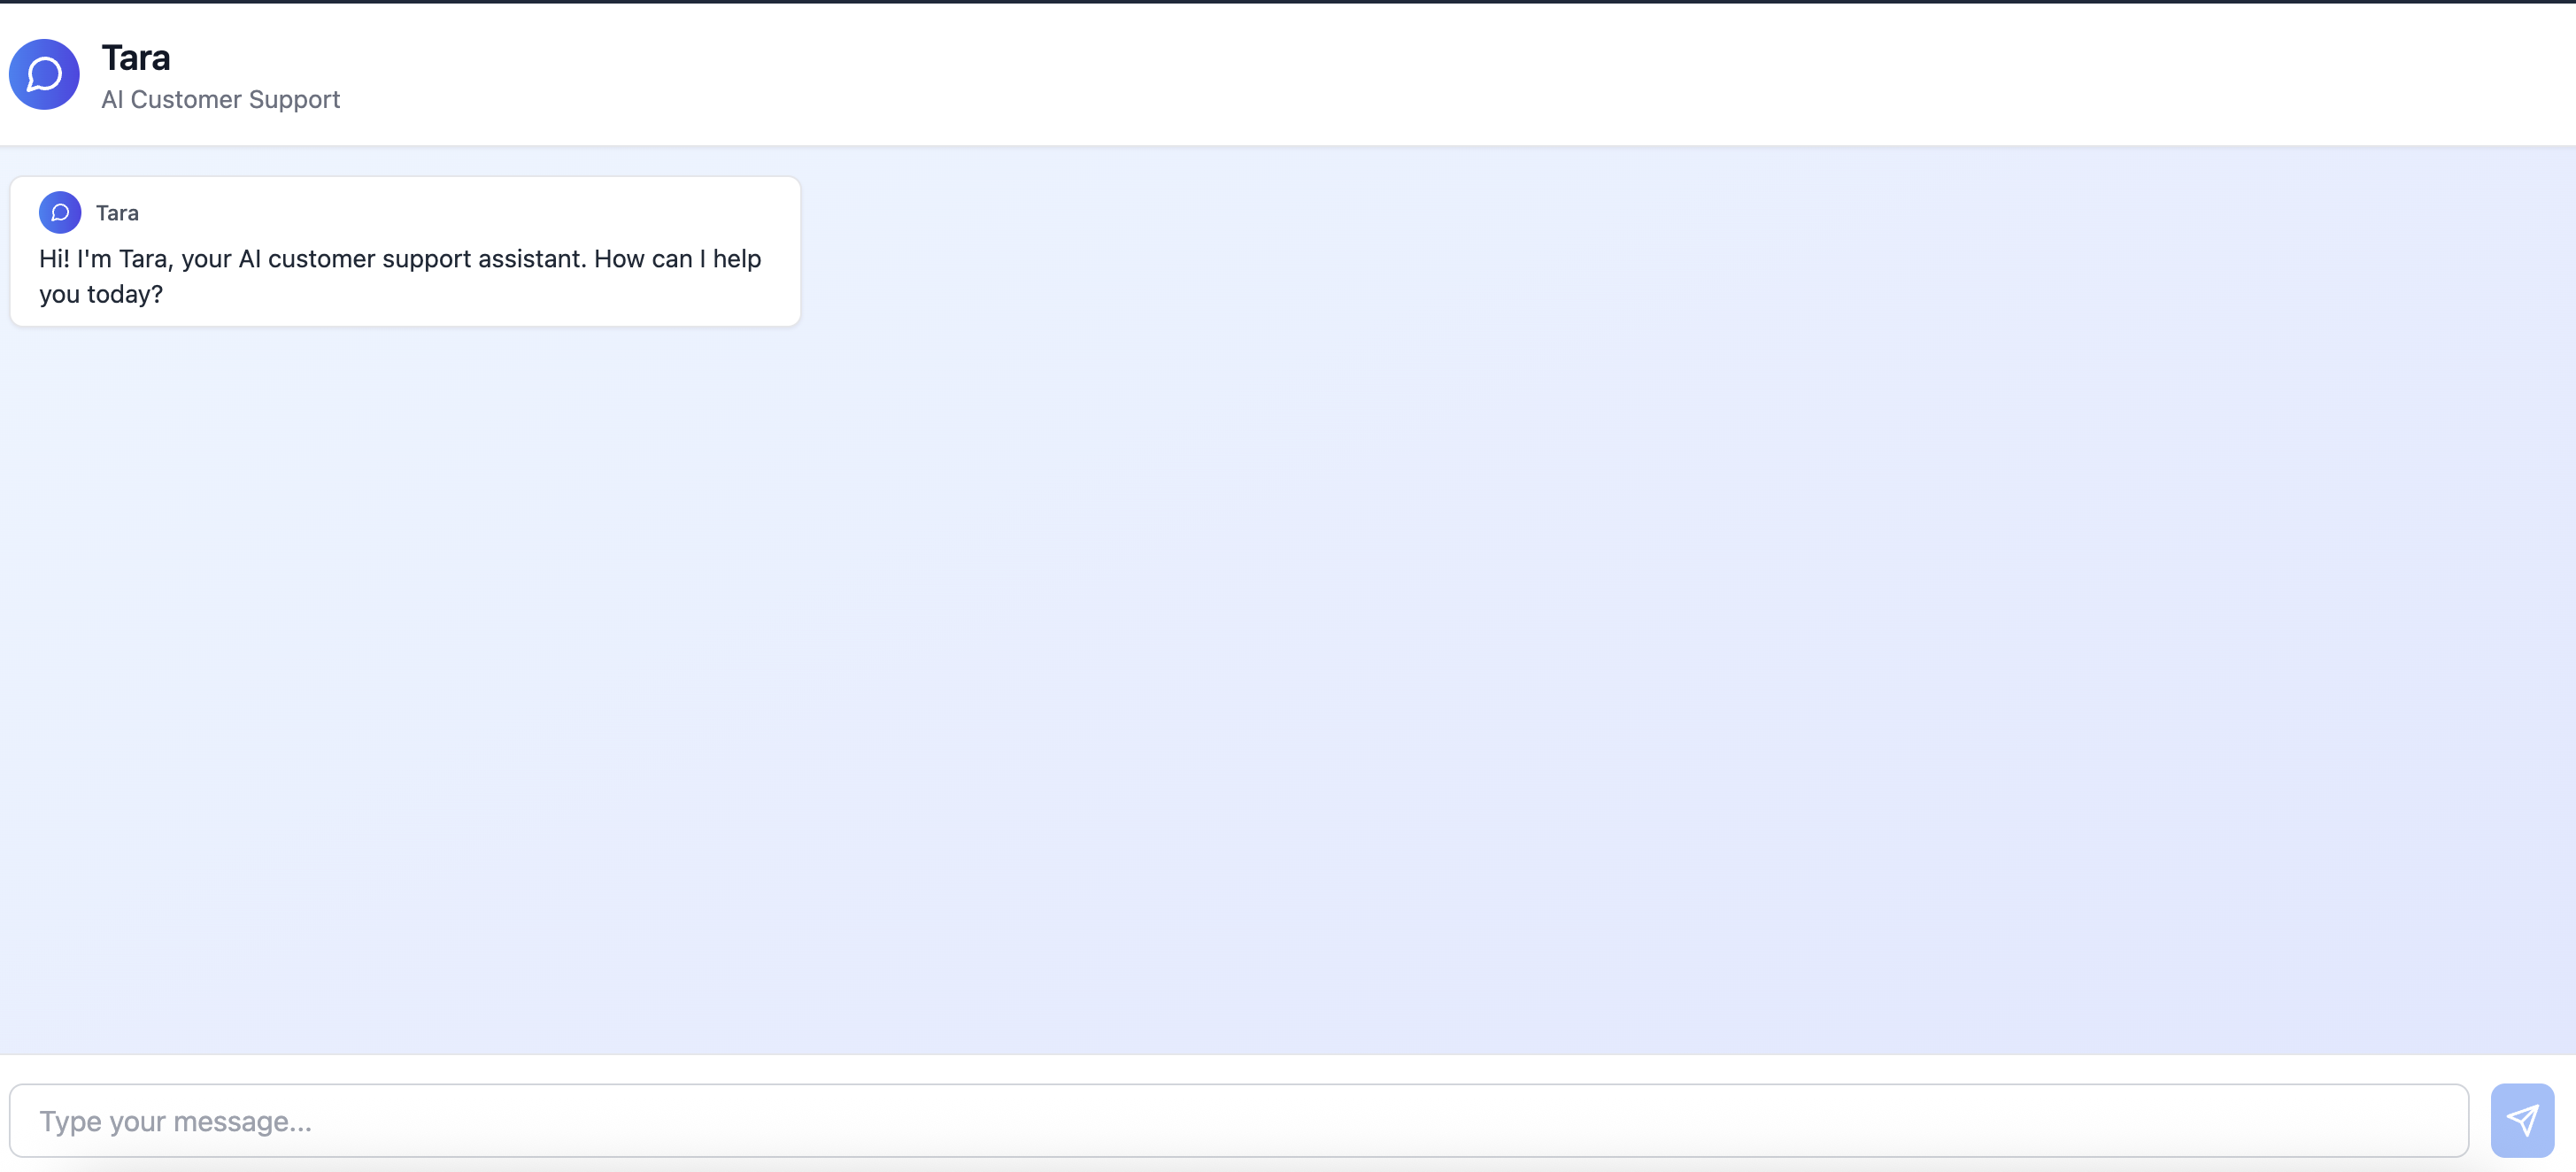
JDoodle.ai instantly generates the base structure, a chat window, a message field, and a response area.
Step 2: Connect the Gemini API
Once the chatbot skeleton is ready, it’s time to connect Gemini so it can actually respond to users.
Before integrating, ensure that you update your Gemini API command properly, and this ensures the connection is established right from the first build and prevents those annoying “build errors.”
You can check the documentation on integrating Gemini in JDoodle
Next, grab your API key from Google AI Studio.
That’s it. Sarah now speaks Gemini.
Step 3: Define Sarah’s Personality
One of the coolest parts of JDoodle.ai is how easily you can define persona and tone.
You can ask JDoodle to make Sarah sound friendly, patient, or even have a touch of humor.
For instance:
“Make Sarah cheerful and empathetic, responding like a human customer support specialist.”
From this point onward, every time a user types a query, Sarah will be able to answer with the defined personality.
Step 4: Test the Chatbot
Now comes the fun part: testing how Sarah performs, live.
Ask her something like:
“How do I reset my password?”
She’ll respond instantly, like any real support assistant would. You can also try follow-ups like “How’s your day going?” just to see how natural the responses feel.
Step 5: Refine the Layout
I noticed Sarah’s chatbox was scrolling fluidly at first. A quick layout tweak fixed that
I simply removed the header section and replaced it with a cleaner start line:
“Start chatting with Sarah.”
Simple UI fixes like this make the chatbot more inviting and less cluttered.
We can also level up and train our chatbot for specific use cases like your own niche or industry.
For example:
A bookstore website can train its chatbot to recommend books by genre, author, or mood.
A pricing chatbot can answer common billing, subscription, or quote-related questions.
We can even build a chatbot for his swimming gear eCommerce store, which will help users pick the right goggles or fins based on their skill level and purpose.
Pretty cool, right?
To make your chatbot this specific, you need to give supporting information or context data to the AI.
We can do it by prompting contextual lines or examples about your business, products, or FAQs.
Example: “You are a chatbot for an online bookstore. When a user asks for recommendations, suggest books based on their preferred genre or author.”
Optionally, you can upload structured data (like product lists, FAQs, or price tables) that Gemini can refer to while answering.
By feeding Gemini this extra context, your chatbot goes from generic to domain-smart.
It won’t just reply, but also understand your users’ intent.
Step 6: Publish and Go Live
Once you’re happy with the design and flow, hit Publish on JDoodle.ai.
You’ll get a public link to your chatbot that you can share directly with your team or embed on your website.
If you don’t want it visible in JDoodle’s gallery? No problem, you can skip that option while publishing.
And just like that, Sarah is live and ready to help your customers.
What You Can Add Next
You can enhance Sarah further by:
Adding Zapier automation to send chat summaries to your CRM.
Including FAQs or pre-trained response sections.
Integrating with support ticket tools for seamless escalation.
JDoodle.ai gives you the flexibility to keep building without breaking a sweat (or touching backend code).
FAQs
1. What is JDoodle.ai used for?
JDoodle.ai is a no-code AI website and app builder that lets you create everything from chatbots to dashboards using just natural language prompts.
2. What is Gemini API?
Gemini API by Google is a generative AI model that enables natural conversations, text generation, and contextual reasoning, perfect for powering smart assistants like Sarah.
3. Can I use my own data with Gemini-powered chatbots?
Yes! You can fine-tune responses or integrate your business FAQs and knowledge base for personalized support.
4. How do I publish my chatbot on JDoodle.ai?
Once built, click Publish. You can choose to list it publicly or keep it private for your team or clients.
5. Can I automate customer messages or ticket creation?
Absolutely. JDoodle.ai integrates easily with Zapier or Google Sheets, so your chatbot can trigger automated workflows or send chat summaries directly.
Final Thoughts
Building a customer support chatbot with JDoodle.ai and Gemini API feels like magic, because it almost is. You just describe what you want, tweak a few things, and voilà!! your assistant is live as your next best support hire.
Related Posts
View All Posts »
How to Build a Website for a Makeup Artist in 11 Simple Steps
Learn how to build a clean makeup artist website that showcases your portfolio, lists services clearly, and helps clients book you easily, without needing technical skills.

How to Build a Website for a Gardener in 11 Simple Steps
Learn how to create a simple, professional gardening website that attracts local customers, showcases your work, and makes it easy to get enquiries, without needing technical skills.

How to Build Your SaaS MVP with an AI App Builder in 2026
A practical, step by step guide for founders, PMs, marketers, students, and indie hackers to ship a working SaaS MVP using an AI app builder with a built in database, without touching backend code or wrangling classic no code tools.